Hat Shop Sew-A-Long Giveaway


We are MOVING our blog, so please continue to follow us at greatjoystudio.com

I hope that this will be less confusing going forward. If you have been following us here at JoyStudio.wordpress.com we have already migrated you to GreatJoyStudio.com’s blog. Make sure however, in order to get in on all of the giveaways we have planned this year, beginning with the one below:

G I V E A W A Y !

To Enter:

• Follow us on the Great Joy Studio (blog) Journal.

• For an extra chance follow us on Instagram as well.

That’s all!

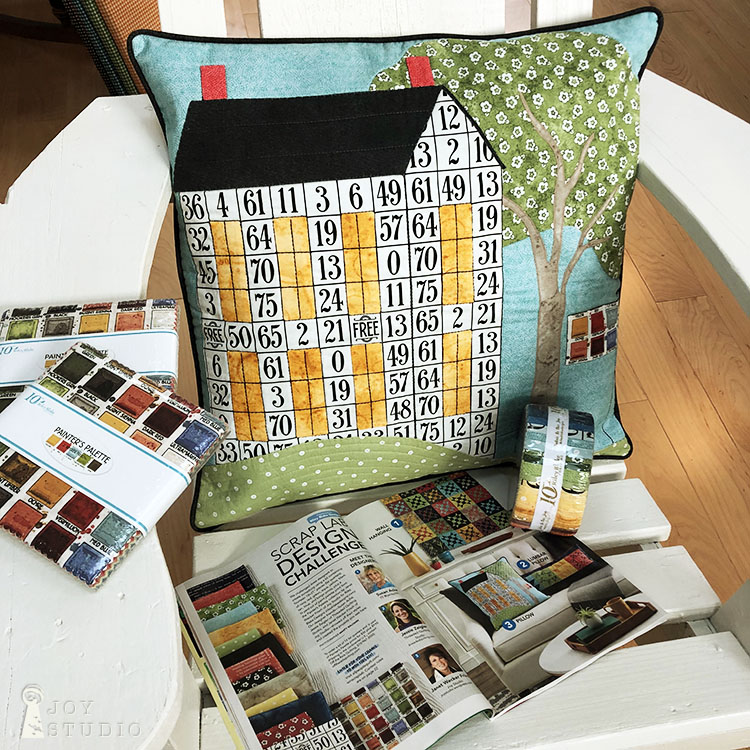
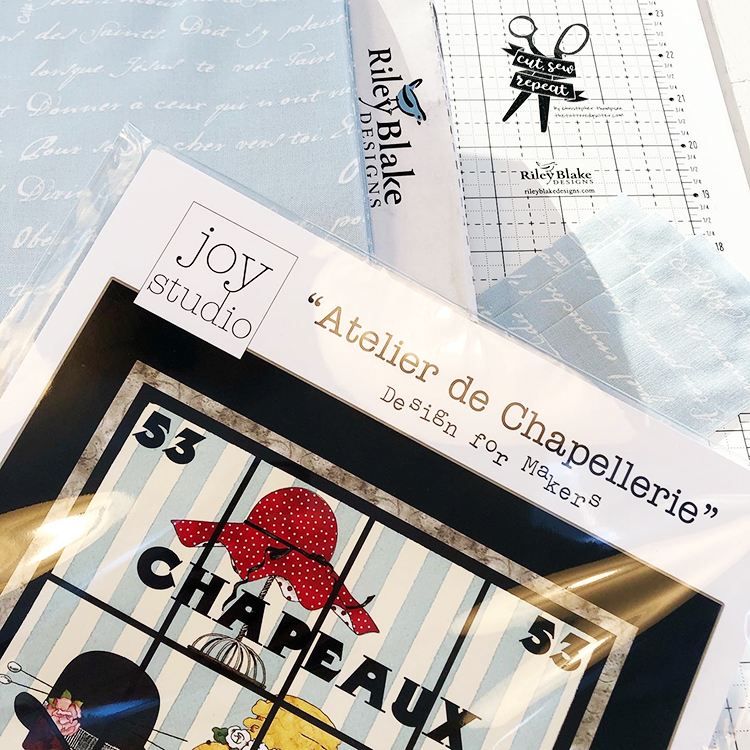
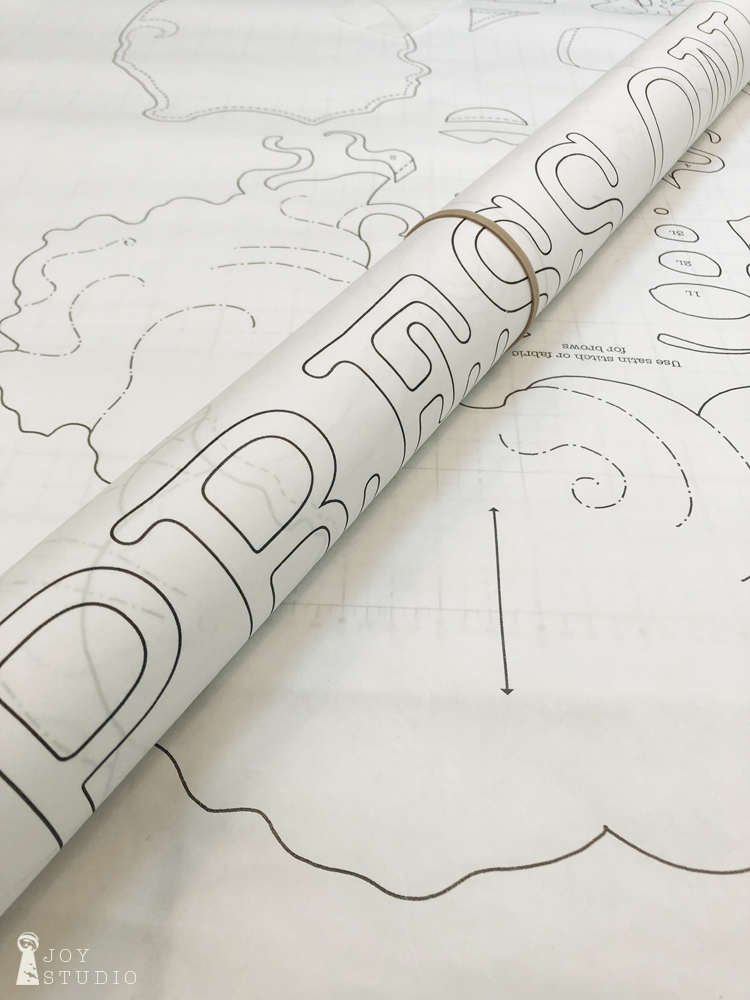
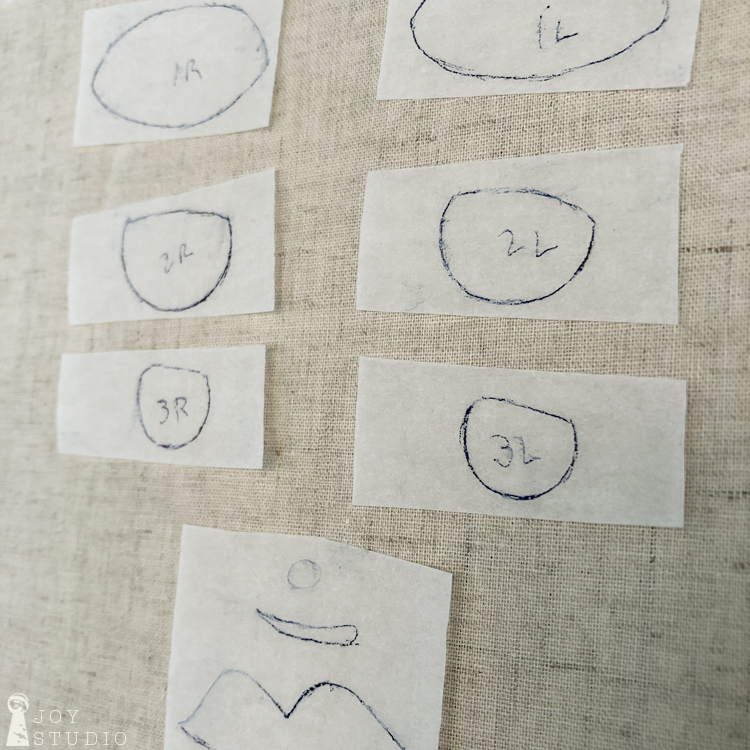
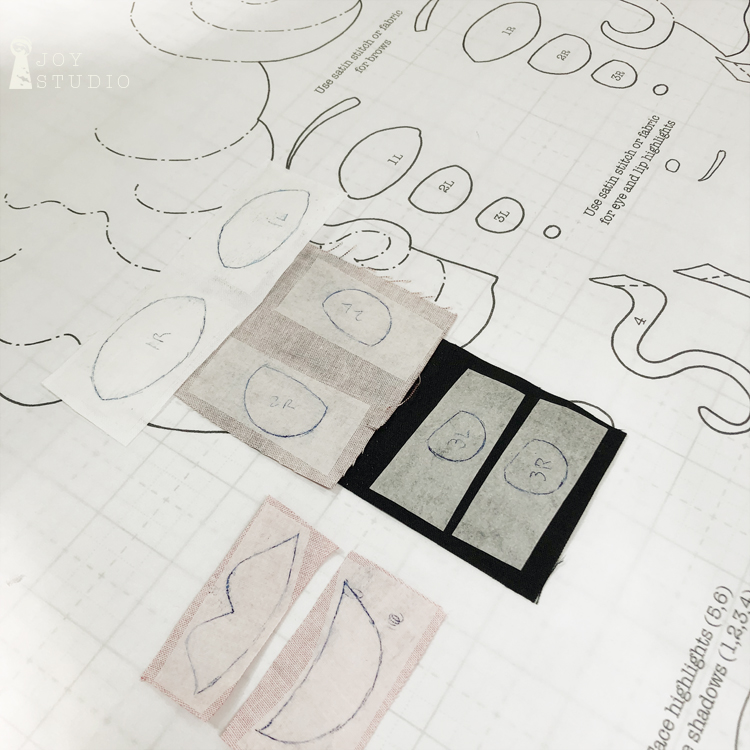
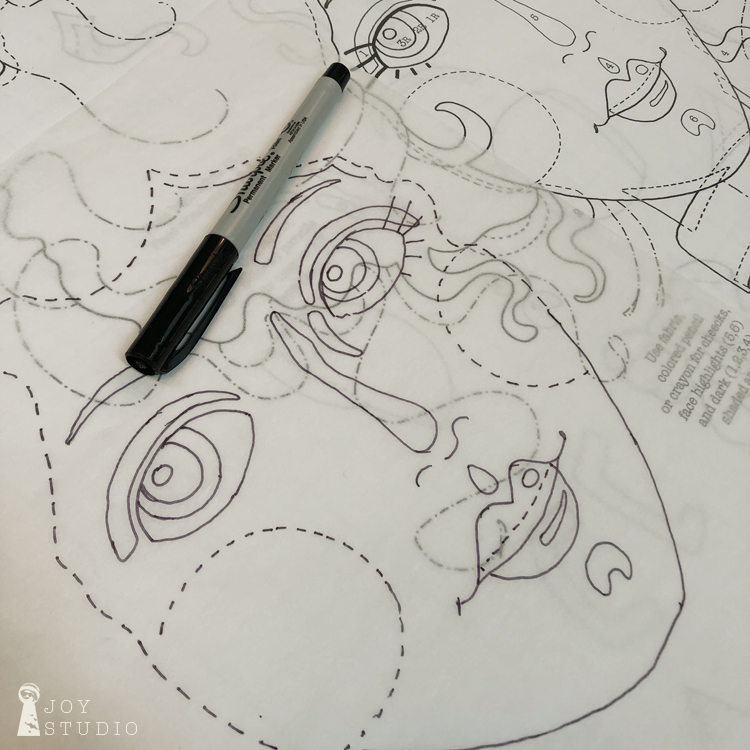
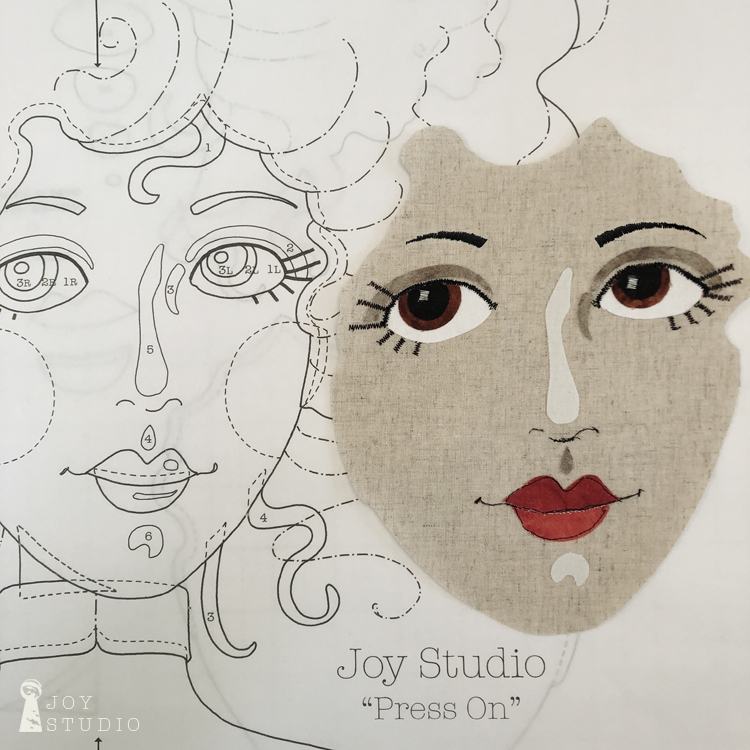
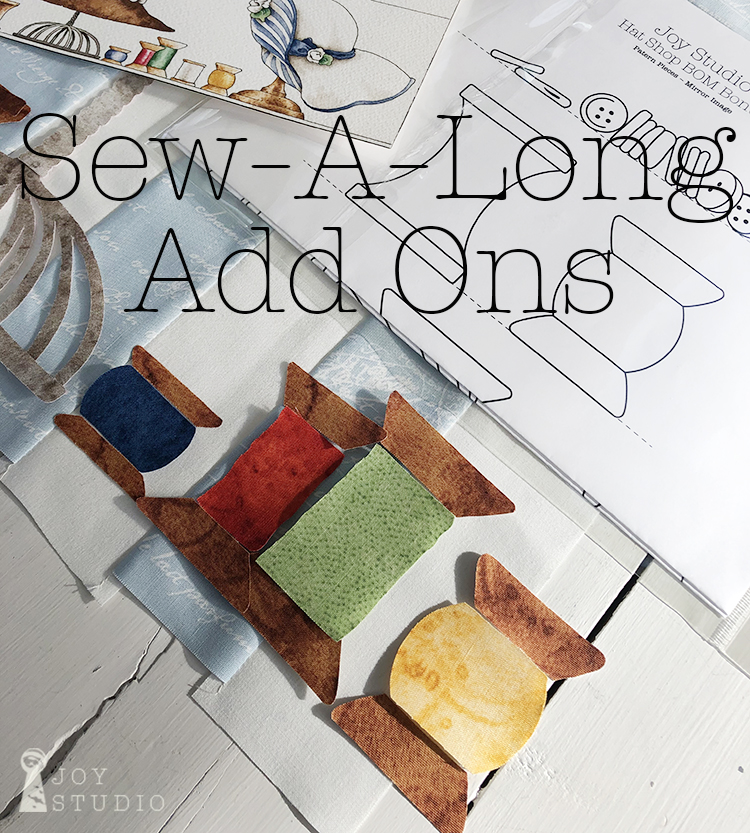
This is for a chance to win one of our BONUS hats and sewing motifs, fused appliqué pattern plus,

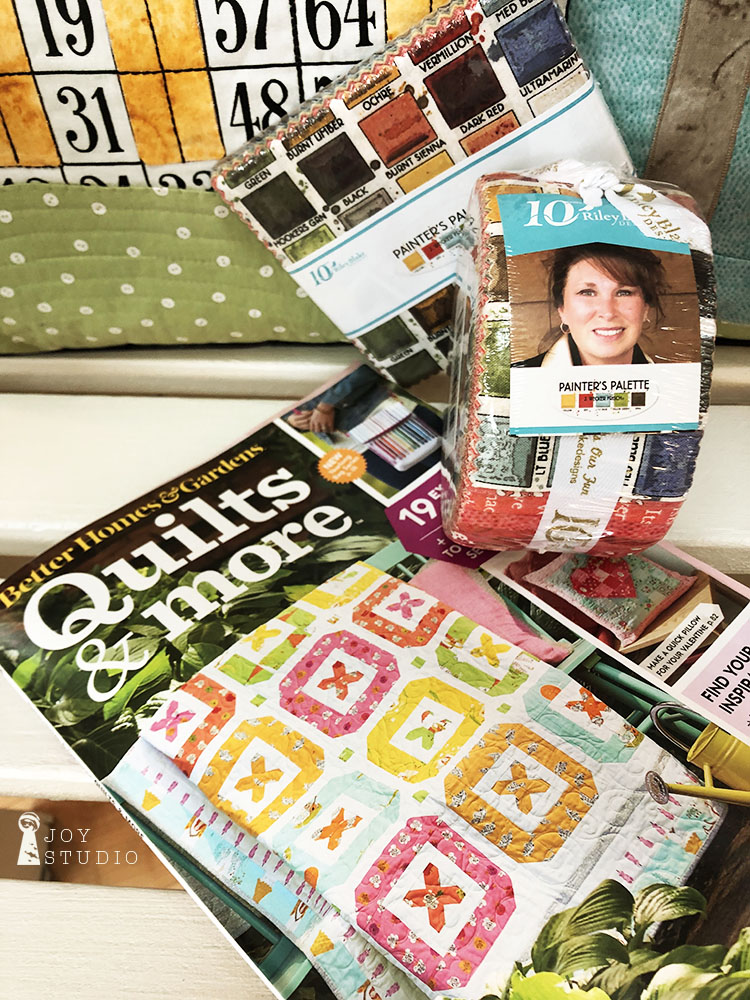
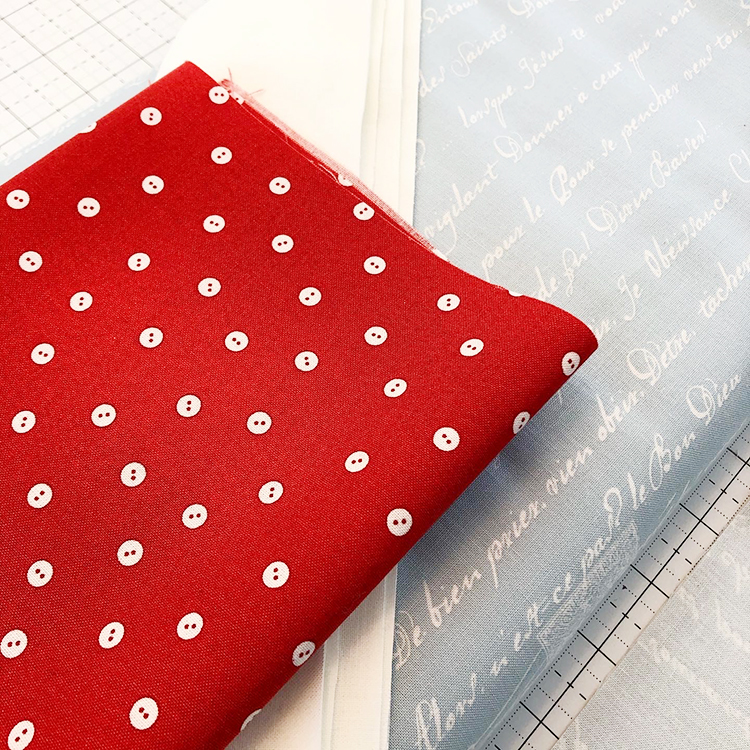
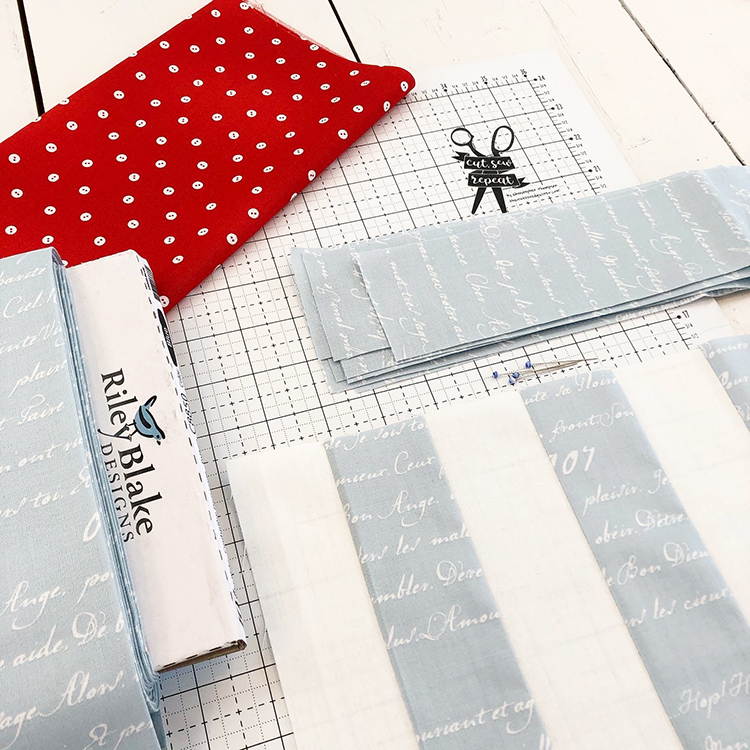
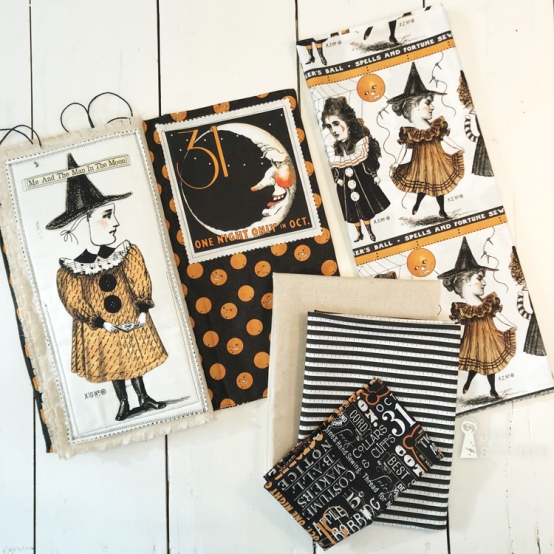
Painters Palette fat quarters and

Couturiere Parisienne fat quarters.

Both collections from Riley Blake Designs.

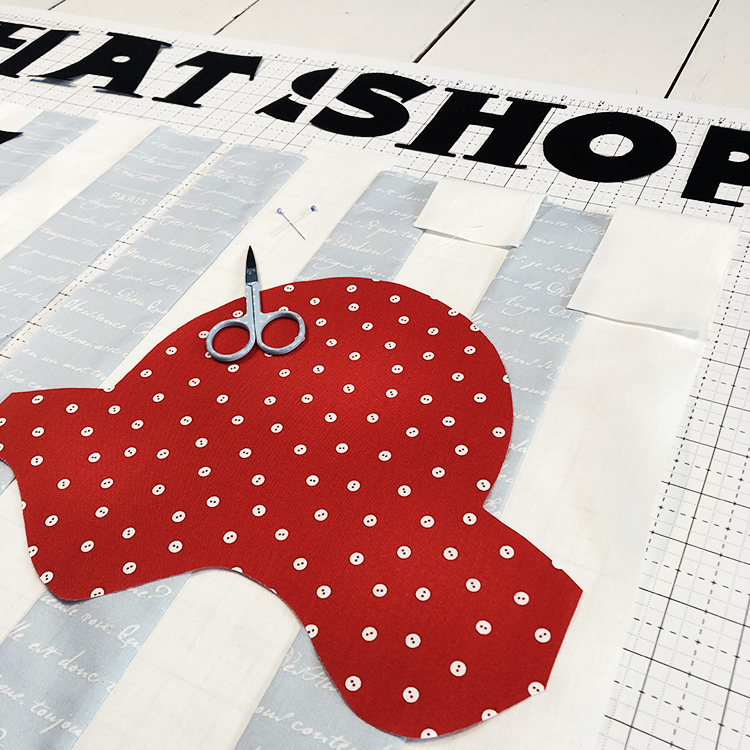
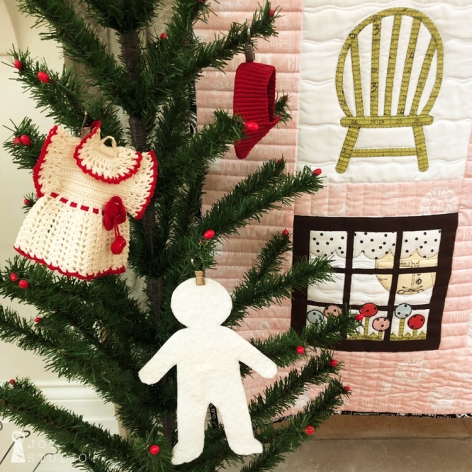
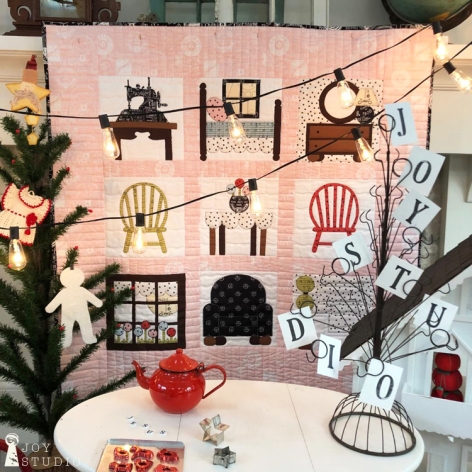
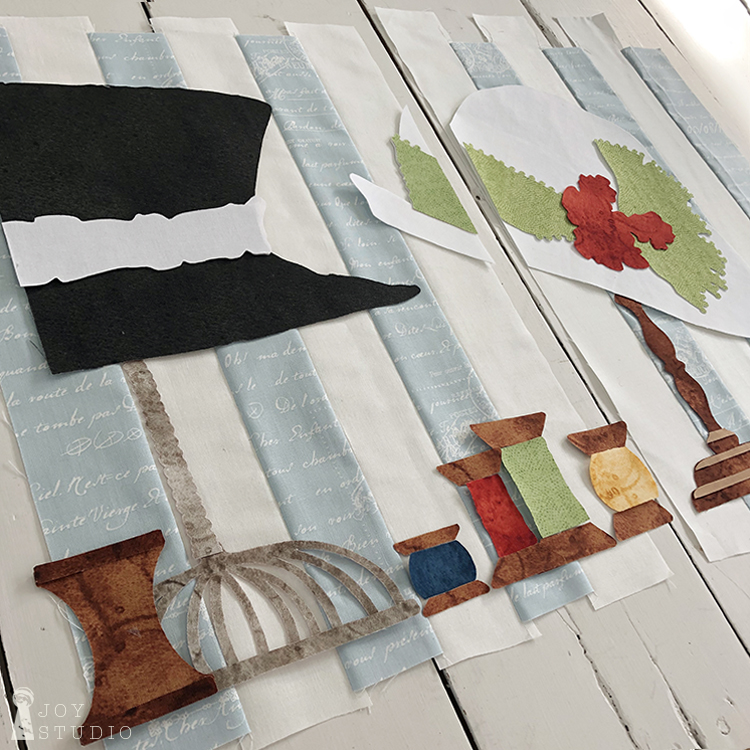
Pattern includes bonus hat, vintage spools, buttons and button jar EXTRAS and we will be adding them onto our Hat Shop Quilt shelves as you will soon see.

• For one more opportunity to win one of these, tag three friends on our Instagram post announcing this @jweckerfrisch. We have plenty of all to giveaway and it’s fun to share!

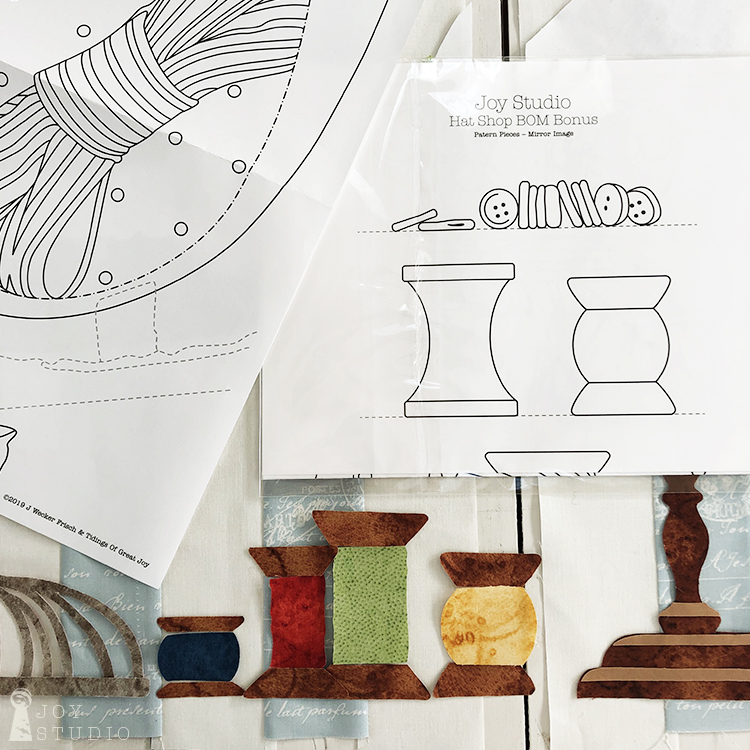
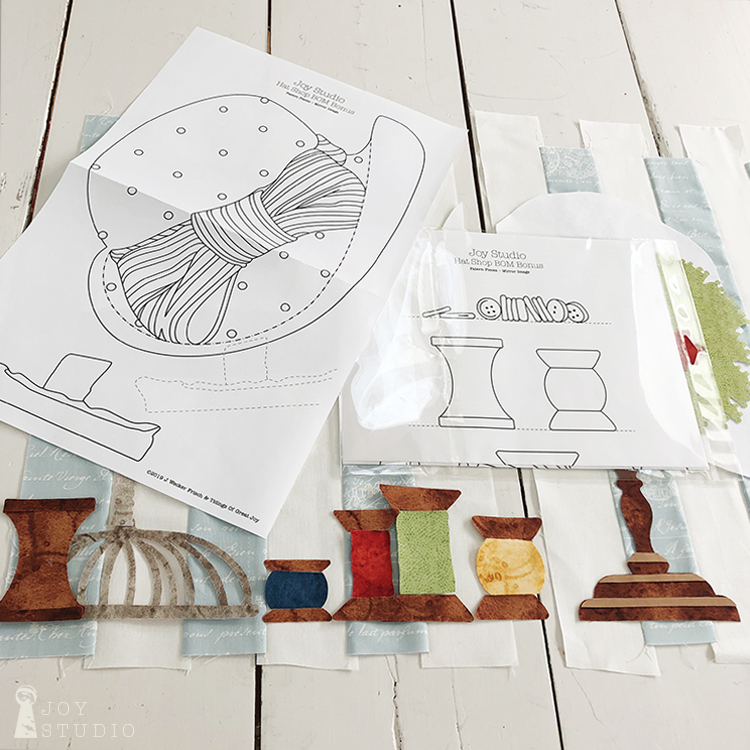
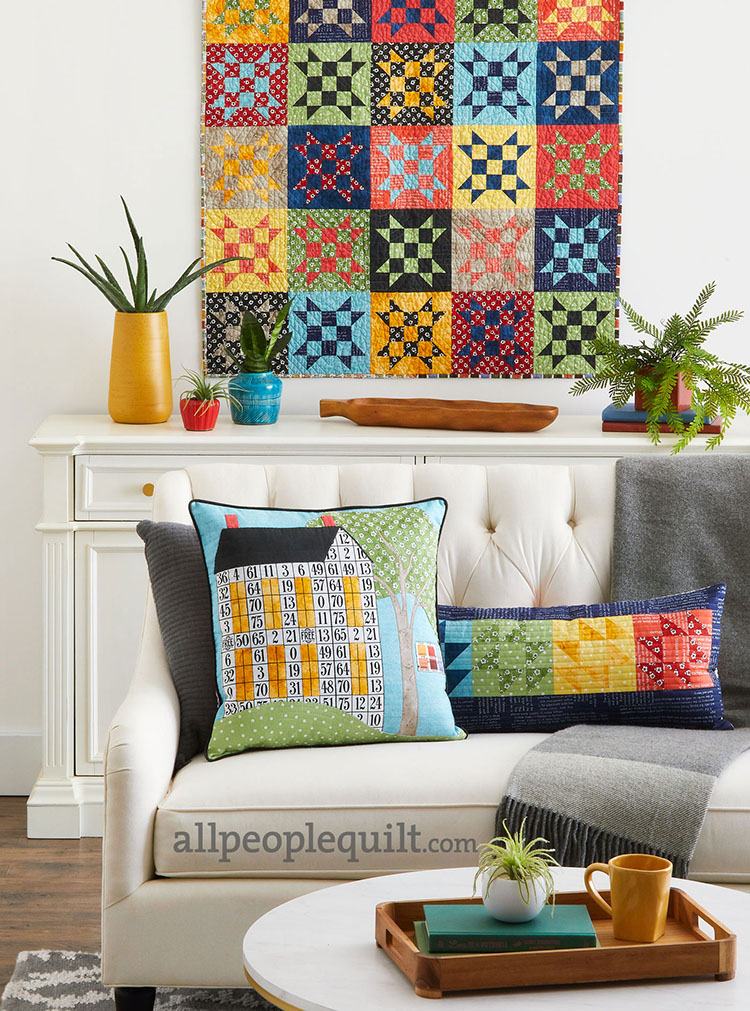
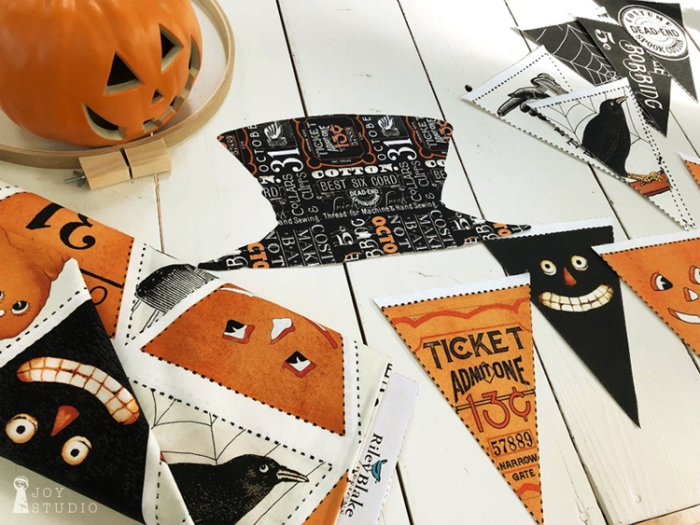
Look at all of the cute spools taken from the original art, made with Painters Palette textures! We’re loving these painterly watercolor fabrics.

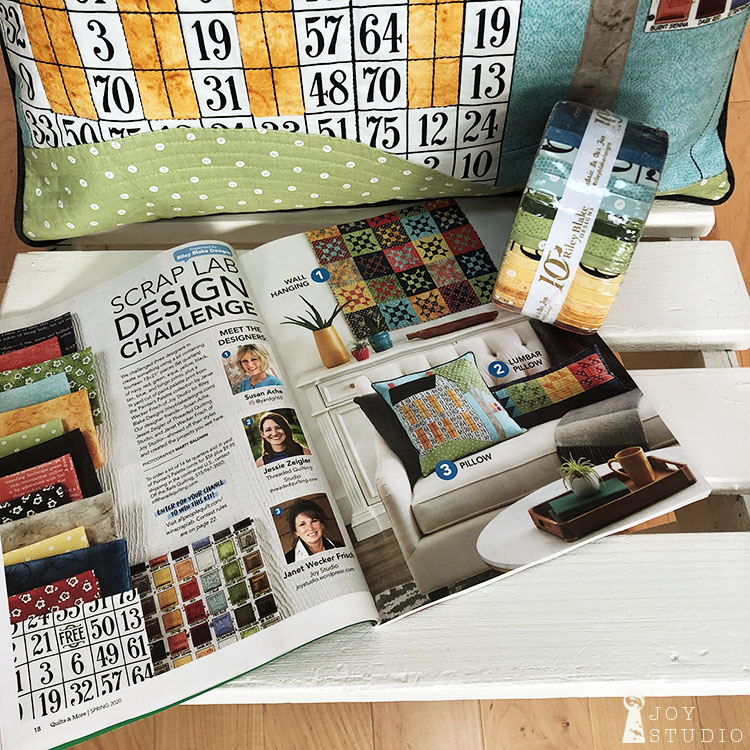
We are on a BLOG FOLLOWERS BUILDING campaign in 2020 so be watching weekly for GIVEAWAYS throughout the year. We have LOTS to share with you from an abundant lifetime of creating and collecting; and it’s time to clean house!

We will be offering Janet’s artist samples through giveaways, here and eventually, some

ORIGINAL ART & QUILTS!!! Another first.

Our gift and THANK YOU, to our faithful followers and all of you who have finally found us. Yay!

BTW, Hat Shop Sew-A-Long starts next week.

Sweepstakes

Used with permission from Quilts & More® magazine. ©2020 Meredith Corporation. All rights reserved.

Earlier this year I was invited to be one of the guest designers for the

Better Homes & Gardens

Quilts & More

Scrap Lab Design Challenge

presented by Riley Blake Designs.

This issue hits news stands January 17th so be sure to grab a copy! Inside are instructions for all three designer’s projects and how to enter the

Scap Lab Sweepstakes!

Or visit allpeoplequilt.com/winscraplab for details

The challenge features my Painters Palette collection from Riley Blake Designs. Our project is in keeping with our ‘Art to Appliqué’ theme this year, on a 20″ “Welcome Home Pillow”.

Painters Palette can be found in quilt shops now!

AllPeopleQuilt.com

Facebook: http://www.facebook.com/allpeoplequilt

Pinterest: http://www.pinterest.com/allpeoplequilt

Twitter: @allpeoplequilt

Instagram: @allpeoplequilt

Firsts


First day of the week, in the first month of the year, in the new decade

&

my first sew along!

Hat Shop Sew Along

is scheduled to begin here, January 22.

So, if you’re joining us, I’ll need lots of help.

As some of you know, I am a watercolor artist, not a sewer. Please understand that my offering is appliqué design rather than expert stitching and/or quilt assembly. This is also, my first time making this quilt. Feel free to comment your questions, tips and critiques here or email to janet@greatjoystudio.com. I’ll do my best to address them all.

This project uses:

Atelier de Chapellerie fused appliqué pattern from Joy Studio and can be found in shops or here on our shop page,

Painters Palette

&

Couturiere Parisienne

fabrics from Riley Blake Designs.

Some of you have expressed difficulty locating Painters Palette fabrics so email me (address above) for the quilt shop list in your area.

Excited to get started!

Save

Save

Joy Studio Appliqué Face

OK, you’ve asked, we’ve listened…

and we’re clearing up some of the mystery on, what is this, how do you make this, how difficult are these to create?!!

And answering a few other questions that have arose about the Joy Studio Makers Guides, large scale She Who Sews girls.

These are not panels but rather,

large scale raw edge fusible appliqué.

They are no more difficult than any fusible appliqué.

And, they make a GREAT addition to your sewing studio!! On the wall, pillow, tote, etc.!!

However, in case you were intimidated to try one, we are also showing you a step by step and video tutorial! Focus on both will be on the face.

As I’ve mentioned in past posts, Aunt Henri, mother/daughter team has created the majority of my show samples including the She Who Sews girls.

And as you also know if you’ve been following me, that I am a novice sewer.

So, here is my first attempt. I’m using the “Press On” Makers Guide.

First, using your Pieces Sheet to trace the eye and lip parts on your fusible product, paper side up. Be sure to mark those with the appropriate letters/numbers.

Cut apart and fuse/iron to the wrong side of your fabric according to the manufacture’s guidelines. I chose a few fabrics from my new collection delivering to shops next month, “Painters Palette” from Riley Blake Designs. They will give you several painterly textures that will further enhance your projects.

Next, Cut out each piece. Most important tip to remember when creating the face is be precise! In tracing, cutting and placing. To help you do this, one clever technique from Aunt Henri is to trace the face from the Placement Sheet using ordinary tracing paper. Tape this over your fused and trimmed face appliqué piece in order to achieve accuracy. That way you can easily lift, nudge, lift, nudge until you like, then press each individual face piece.She will be beautiful every time.

I am using the natural linen from Riley Blake Designs for my actual face appliqué base.

Once all of your face pieces are fused, you are ready to stitch!

Remember, I am new at the sewing part so I’m certain you can achieve a better satin stitch although, mine are not bad, right?

You can stitch or use fabric for your brows, btw.

Voila! If I can do this, anyone can by following these tips.

&

Aunt Henri’s video tutorial!!

Watch for our pattern SALE during the Garden of Quilts event! September 12 – 14.

This will be a never before, one time, worthwhile offer, trust me.

While supplies last.

Boo! A Bunting

B U N T I N G   M A K I N G

with the

Costume Makers Ball

Bunting Panel

from

Riley Blake Designs

makes this project so quick,

so easy,

and so FUN!

*

Of course there are several ways that you can use this bunting panel.

I chose the no sew approach for a super quick finish.

For this you will need:

• One Costume Makers Ball bunting panel – 24″ x 43″

• Backing fabric – approximately 22″ x 43″

• Black 3/4″ wide gross grain ribbon, approximately 10 yards

• A medium weight, double sided fusible web product – approximately 22″ x 43″

• A package of fusible tape, approximately 10 yards

• Iron and pressing surface


Begin with your panel by cutting it in half, selvage to selvage. You can cut along the heavy dash lines on the outside of the two orange strips that separate the two rows of flags.  This will leave a wider seam allowance at the tops of your flag sections.

Place your nine flag section on top of your fusible, paper side up. Trace the flag section with a marker or pencil and cut out. Sandwich them together glue side to back of fabric on your pressing surface. Make sure the fabric is a little larger than your fusible so you do not fuse to your surface or iron. Press according to manufacturer’s instructions.

Peel off the protective backing of your fusible product and place glue side to wrong side of your second, backing fabric. Again fuse together. Then your ready to cut the flags apart.

I designed this bunting outlining each flag with the same heavy dash lines to add a decorative edge and make cutting easier. You can use your rotary cutter or scissors to achieve a clean cut through your two fabric layers.


Once all of your flags are cut out you can fuse them to your ribbon. Lay them out in the order that you like and begin to fuse the ribbon to one top side of the flag. When you get close to the edge overlap just a bit and join the next one, until all are attached. Then turn your strand over and apply another layer of ribbon to the back for additional strength.

Then hang & enjoy!

They’re really fun to layer with batting and quilt some details too!

Ta-daa!

I hope my last two how to project posts were helpful. If I get up my courage maybe we’ll try a video!!

Now, that is SCARY!!!

Save

Save

Scary Book Step By Step

Hello everyone!

We’re back from our two big events and eager to share.

First up is our big,

SCARY BOOK!

Featuring,

COSTUME MAKERS BALL

fabric by me, J. Wecker Frisch

from Riley Blake Designs

So many of you have asked if this fun fall project was a pattern so, we decided to share the easy process here!

I pretty much made this up as I went along and it was truly so easy. I’m still learning on the sewing front so, if you see anything that can be improved on, I’m interested to hear from you. Of course we love the images on the patch panel and they were the perfect sizes for the pages and pockets to hold whatever spooky items we found around the studio. Choose anything you like in your stash of old photos, tags, charms and trims to personalize your scary book.


What you’ll need, beginning with Costume Makers Ball fabric:

• One – Patch Panel for pages and pockets.

• One repeat – Border Stripe for a few fun tags to slip inside and attach.

• Fat quarter – Black Text for cover.

• 1/2 yard – Jac O Lantern Balloons on Black for inside of cover plus one page background.

• Fat eighth – Measure Tape Stripe Blk n Wt for one page.

• 1/2 yard – Riley Blake Linen in Natural for inside pages.

Optional:

• Quilt batting, 1/2 to 3/4 yards based on preference. We used a light weight fusible behind page patches and cover.

• A medium weight Interfacing for a stiff cover cut to 17.5″ x 17.5″

• Measuring tape ribbon, buttons, decorative string, one cargo tag, old key & vintage notions or game cards, etc.

• Fabric only kits available exclusively at greatjoystudio.com/shop/

Pictures worth a thousand words?


Pages six & seven with quilted tags made using the CMB border stripe.

Sandwich each of the individual cover and (18″ square) page layers as you like. I chose batting between my cover fabrics and under each of the fabric patches. I then used a variety of sketchy stitches around each the page edges to create decorative borders and attach to the linen pieces. Using your skill level and imagination there are no limits to what you will create with these fantastic fabrics! Again, my stitching experience is short and some of these are my first attempts but I was pleased with the results. So remember, have fun, no rules, anything goes and you can’t make a mistake.

Here are the the page layouts:

Inside front cover & page 1

Pages 2 & 3


Pages 4 & 5


Pages 6 and 7 are pictured at top of post and are holding the border stripe kid tags.


Page 8 and inside back cover.

Not pictured is the outside cover! We used the CMB black allover text.


Complete Scary Book fabric kit available on the Shop page.


More Scary Book photos and fun projects on IG @jweckerfrisch and FB Joy Studio

&

Please share your scary book eye candy with us!!


Save

Save

Save

Save

Save

Fabric Delivery!

It’s true,

Costume Makers Ball

is available NOW!

Just delivered to your favorite quilt shop,

from Riley Blake Designs.

And have we been plenty busy making,

Whew!!!

Here is some of the fun we have had with our latest ‘Art to Applique’ designs.

We used Riley Blake Designs Confetti Cotton basics with Costume Makers Ball, to achieve the perfect blend for these projects.

“Classic Jacs”

was translated from the art in one of my classic Halloween collections. It is a vintage inspired, quick and easy fused appliqué design.

Did I mention FUN to make?!! Perfect for Trick or Treat bags, table runners and all fall decor.

This and MORE Joy Studio Design for Makers will be available to the trade at the

International Quilt Market in Kansas City.

Follow us on Instagram and Facebook to see all the new patterns and two, new FABRIC collections!!

Plus,

our Man in the Moon and he is available now at greatjoystudio.com

So, tell your quilt shop to come by our Riley Blake Designs Booth #1335

to see all of the new items we have in store for you!

&

If you can make it,

we will be sharing with Costume Makers Ball at

Missouri Star Quilt Co’s Academy 2019

May 21-24 following Quilt Market.

I hope you can join us for lots of making, FUN!

Save

Save

Save

Save

New Year, New Fun

Hello and a Happy New Year to all of YOU!

I’m running slightly behind already following so much holiday activity and art deadlines in January but,

I still thought there might be time for some fabric fun!?!!

How about another Valentine Post Card Exchange?

I really enjoyed seeing your amazing creativity from the first one, which you can see on Pinterest.

It’s a small project so you can stitch up quick and embellish (or not) any way you like, no challenge this time

however,

I do have Riley Blake Designs Paperdoll fabric panels and fat quarters to GIVEAWAY!!

How does a random drawing of the participants sound?

The winner will be drawn from delivered post cards.

All you have to do is sign up by sending me an email with your name and the address where you wish to receive your card.

I’ll match everyone to a partner and send you back the info.

• Email to janet@greatjoystudio.com

• Use any Riley Blake Designs fabric, although I’d love it if you used Paperdoll.

•Sew and send your cards to the partner we assign by February14, or sooner.

That’s it!

Sew . . . who’s in?!!!

OH, and btw, the Man and the M O O N applique pattern above is printed!

Folding and filling and

available

S O O N.

~

Save

Save

Save

Save

Merry, Merry!

H E L L O  T H E R E !

As you can see, I jumped from our Halloween Quilt Market booth straight to Christmas here on the blog. November and most of December I focused on new art, patterns and regular life. Time is still the number one creative schedule handicap. Can’t seam to get everything done.

However, I do want to take this time to post a sincere thank you for your support of the products, encouragement and following me with the likes and very kind comments throughout the past year . . . and, longer!!! It really feels great to know that we share a creative connection.

YOU keep me going!

Thank you makers and creators. 😉

And –

Wishing you the best of EVERYTHING in the new year!

“Paperdoll” fabric by J Wecker Frisch from Riley Blake Designs can be found in quilt shops.

The “Doll House” appliqué designs can be found at Missouri Star Quilt Co.

“Doll House” Kits can be purchased at Fabric.com

~

Save

Save

Save

Fall Quilt Market 2018

Hello!

Once again we were off to Houston last week in October with our new fabric collection,

Costume Makers Ball

presented at Fall Quilt Market by

Riley Blake Designs.

Just in case you didn’t catch this on IG or FB I decided to share a few photos and info.

The collection is for Halloween, twenty-nineteen and delivers to shops in April.

These fabrics are available to the trade (shops) now so please, check with you local shops to make sure they’ll have in the Spring.

It’s a very fun group to work with and I’m thinking you will agree!

As you can see above, we’ve created some great projects for this line and they’ll become available with the fabric release.

You may also notice that we’ve dressed our Makers Guide She Who Sews girls up too and will be offering these Halloween appliqué add on’s as downloadables.

Oh yes, and we won a prize!

Two actually!!

One to Riley Blake Designs for Best Multiple Booth award.

And we received the Most Creative Booth award.

FUN right!?!!

And for a little extra touch, our live action model dressed as the main panel was in the booth on Saturday. A photo with her offered visitors a chance at some Paperdoll fat quarter bundles in a daily giveaway throughout the show.

To top it off, we enjoyed special guest, Jenny Doan from Missouri Star Quilting! Yay

It was all, quite a Treat.

🙂


Save